Lenovo Yoga 3 Pro Disassembly
In this guide, I’ll disassemble Lenovo Yoga 3 Pro, refer to this guide, you can upgrade, repair your Yoga 3 Pro, or remove and replace the battery, wireless card, heat sink, cooling fan, SSD and hard drive.
Lenovo recently released the annual flagship product YOGA 3 PRO in Beijing and London, the YOGA 3 PRO has been a major breakthrough in thickness and weight of the body, the weight of 1.19 kg, body thickness is 12.8 mm, Today, we finally got a YOGA 3 PRO, below we bring this YOGA 3 PRO disassembly guide.
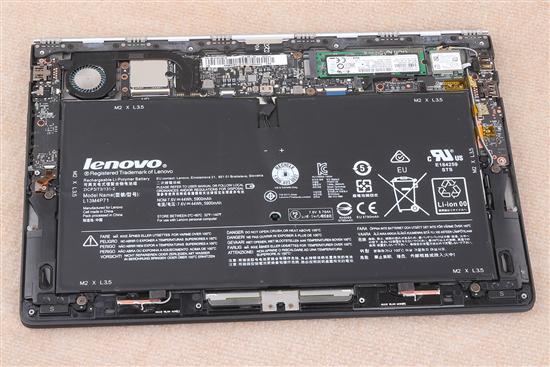
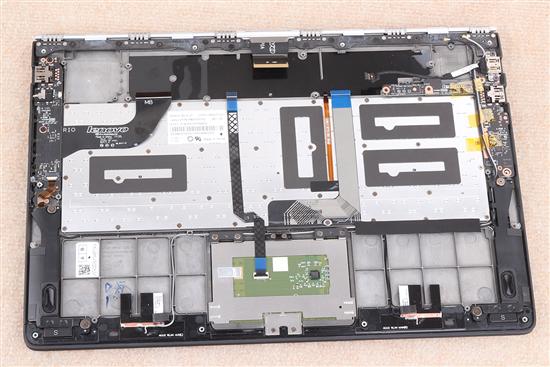
Remove the back cover is very easy, just remove ten screws, pry up and remove the cover.
Here’s Lenovo YOGA 3 PRO wireless card.
It’s support 802.11ac dual card, which also integrated a Bluetooth module.
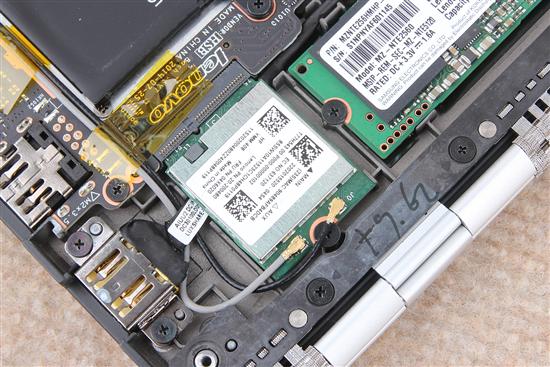
Lenovo YOGA 3 PRO has three capacity versions, we got this is equipped with a 256GB SSD, users can directly upgrade larger capacity NGFF SSD.

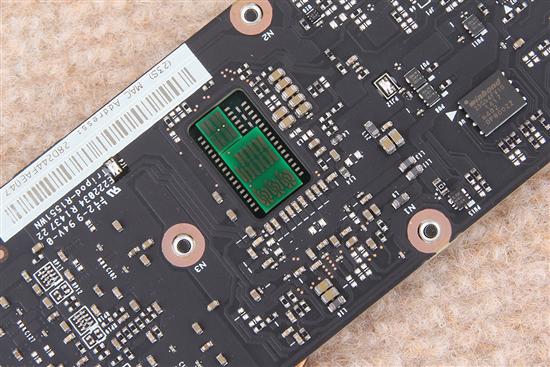
YOGA 3 PRO motherboard is very small, which is the Lenovo proud of one of the components on YOGA 3 PRO, 14nm processor also brings endless possibilities for small motherboard.
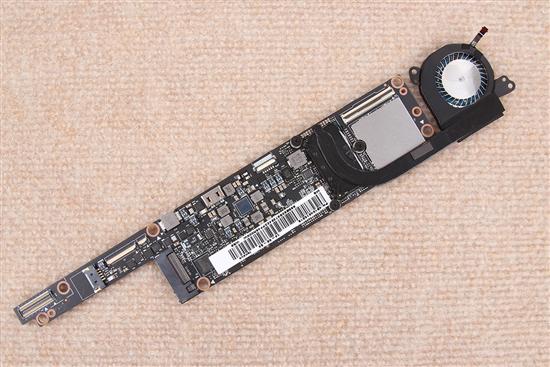
Under the black heat sink is Intel’s latest Core Duo M-70 processor, which uses 14nm process, clocked at 1.1GHz, a maximum 2.6GHz. TDP is only 4.5W, which is also integrated the latest Intel HD5300 Graphics card.
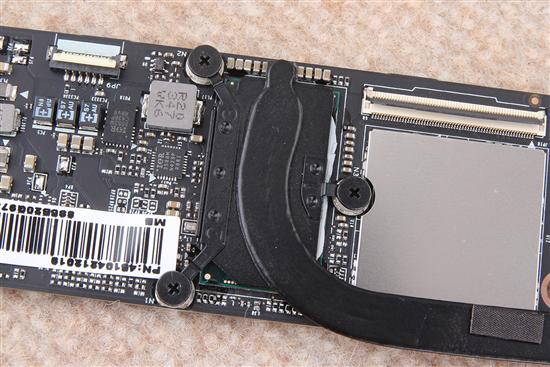
The back of the motherboard
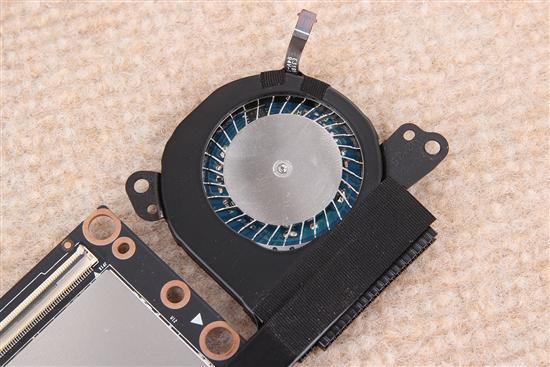
YOGA 3 PRO cooling fan. Its thickness is only 3.5 mm, blade thickness of only 0.2mm, the noise below 25 decibels.
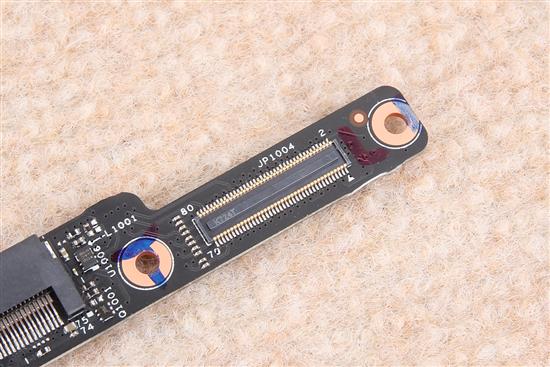
LCD cable interface
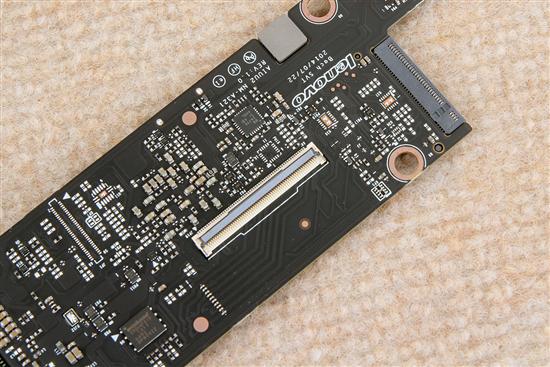
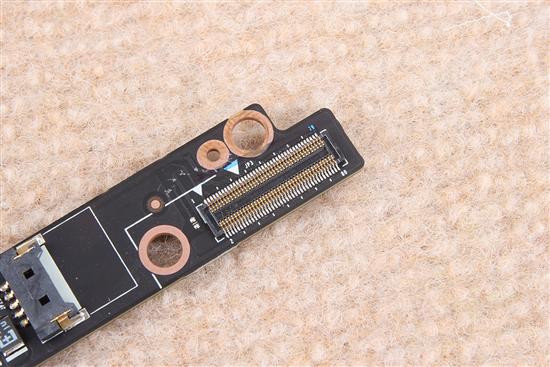
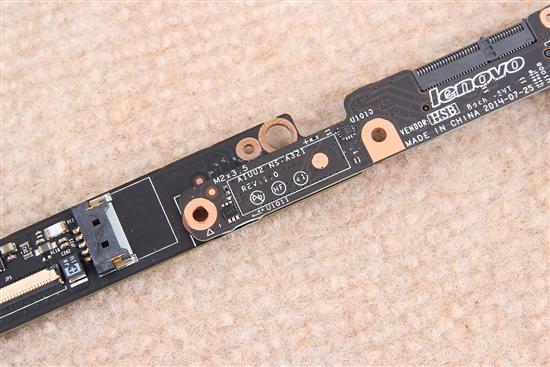
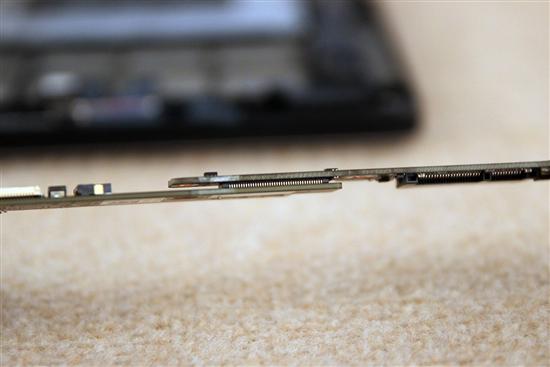
The PCB board is connected to the motherboard by two slots.
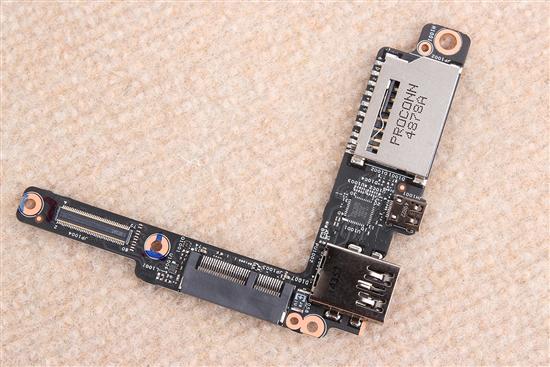
The PCB board integrated HDMI port, SD card reader port and USB 3.0 port.
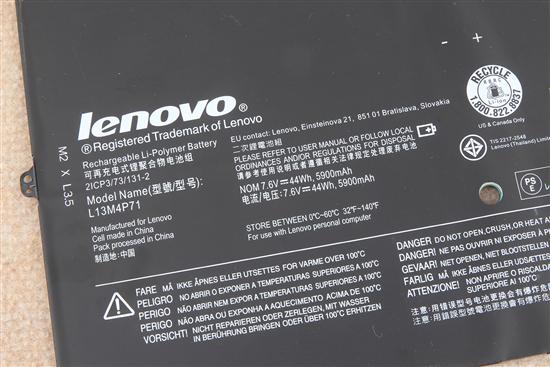
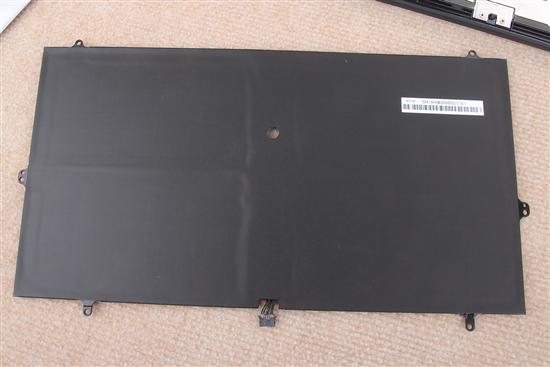
YOGA 3 PRO’s battery account for a very large area, and the powerful battery ensures its life time. It is surprising that the thickness of this battery is only 2.8mm.
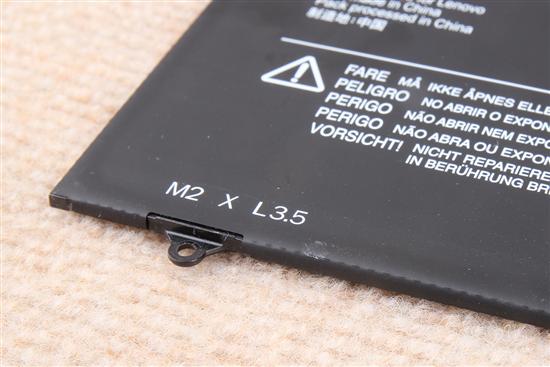
This Yoga 3 Pro comes with a 7.6v, 5900mah Li-polymer battery, Lenovo part number: L13M4P71.
Thanks for the guide. I wonder if I can remove the fan? The noise is annoying and this CPU is supposed to be fanless, right?
It is supposed to be fan less. Also, type properly.
I wonder, is this also the case w/ the Yoga 3 14? I’m seriously considering getting it, but the only huge drawback is the 256GB SSD, which I would like to upgrade to a 500GB or 512GB SSD. Also, if you replace any of these items, does it affect the warranty on the laptop?
Anybody know where I can get a replacement fan for this? Anywhere I’ve looked only seem to stock fans for other models.
please check this link http://www.laptopultra.com/lenovo-ideapad-yoga-3-pro-fan-p-161985.html
Could you tell me were the RAM is? Thank you
The RAM is soldering on the motherboard.